Animations#
octarine.Viewer makes it easy to add simple animations:
>>> import octarine as oc
>>> import pygfx as gfx

>>> # Generate a simple cube
>>> cube = gfx.Mesh(
...     gfx.box_geometry(200, 200, 200),
...     gfx.MeshPhongMaterial(color="#336699"),
... )

>>> # Initialize the viewer and add the cube
>>> v = Viewer()
>>> v.add(cube)
At this point not much is happening:
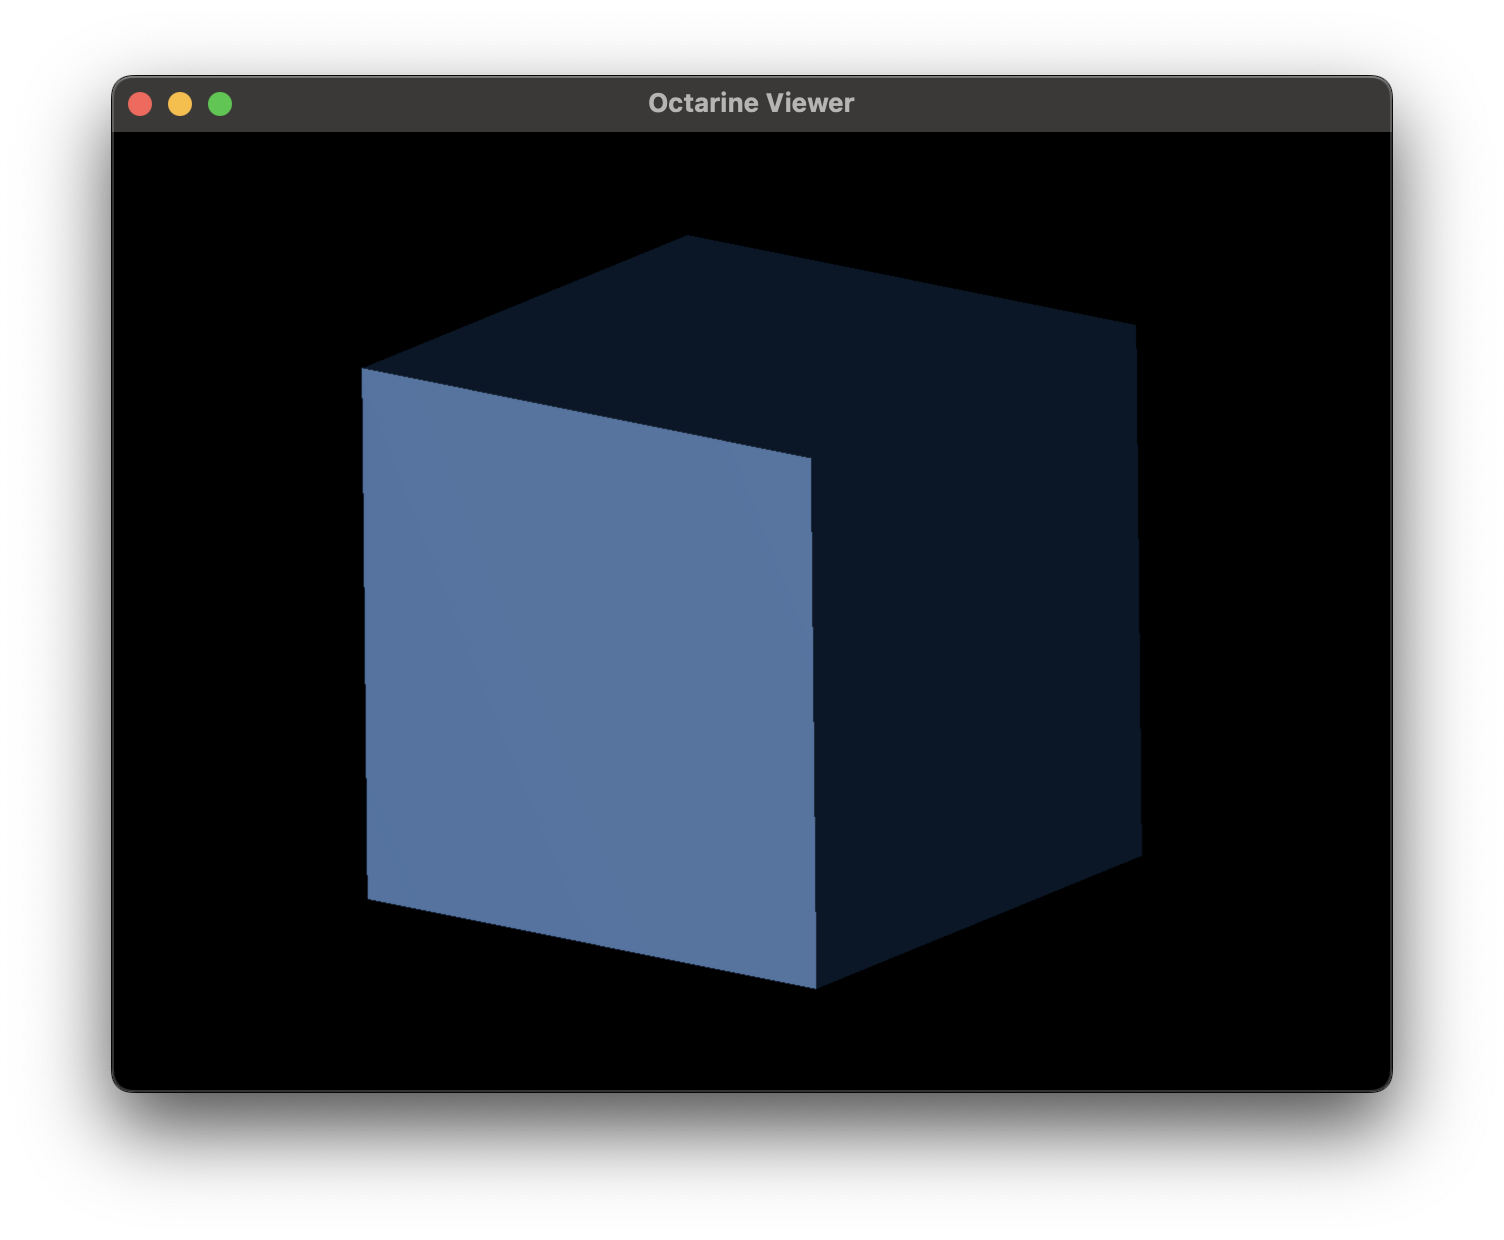
Next, we will use octarine.Viewer.add_animation() to add a function that will rotate the cube:
>>> import math
>>> def rotate_cube():
...     """Increment the rotation of the cube."""
...     cube.local.euler_y = (cube.local.euler_y + 0.05) % (math.pi / 2)

>>> v.add_animation(rotate_cube)
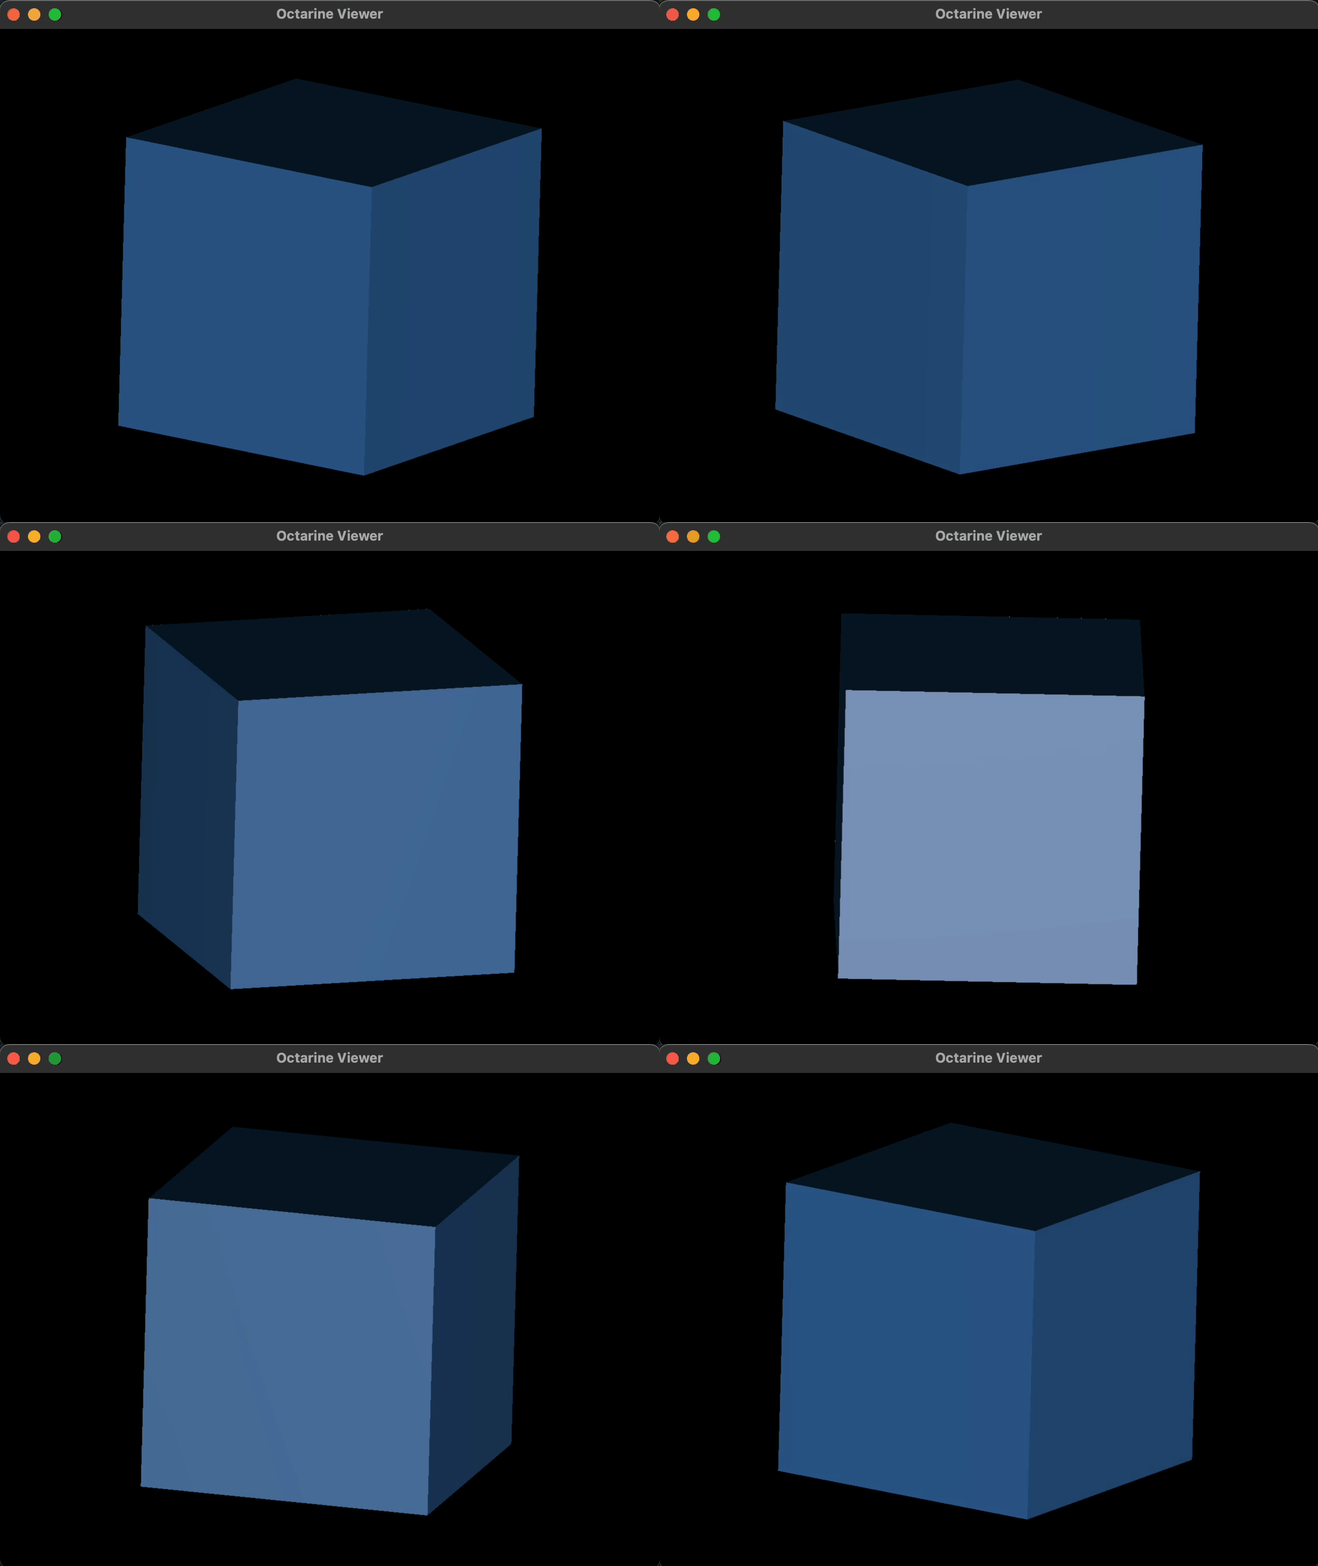
So what's happening here? The rotate_cube() function is now being called before each frame is rendered.
Importantly, this also means that the speed of the rotation is tied to the frame rate of our viewer. By default, the frames per second is capped at 30. Try increasing that cap and you should see the cube rotate faster:
>>> v.max_fps = 60
You could decouple the rotation from the frame rate by incrementing the rotation depending on how much time has passed since the last call.
A few useful options of octarine.Viewer.add_animation():
on_errordetermines what happens when your function raises an exception:"remove"(default) drops it from the animation loop,"log"logs the error and keeps going,"ignore"silently continues and"raise"lets the exception bubble uprun_every=Ncalls the function only everyNframesreq_render=Falsetells the viewer that the function does not change the scene - relevant when using a"reactive"render trigger
Use octarine.Viewer.remove_animation() to remove a function from the animation loop again.
Camera animations#
add_animation() is the low-level hook - you write a function and it runs before every frame. For the most common job, moving the camera and saving the result as a video, use octarine.Animation instead:
>>> anim = oc.Animation(v)
>>> anim.orbit(duration=6)          # one turn around the scene, over 6 seconds
>>> anim.render("orbit.mp4")
An Animation is a timeline that you fill with segments. Each one picks up where the previous one left off, so a timeline reads much like the animation itself:
>>> anim = oc.Animation(v, fps=60)
>>> anim.orbit("neuron_1", turns=1, duration=6)  # circle one object
>>> anim.move_to("XZ", duration=2)               # swing round to the lateral view
>>> anim.hold(1)                                 # ... and stay there a second
>>> anim.zoom(2, duration=2)                     # zoom in on it
>>> anim.render("tour.mp4")
Every method returns the animation, so the above can also be chained.
Orbits#
Animation.orbit circles the camera around object(s):
>>> # Everything on the viewer, twice, clockwise
>>> anim.orbit(turns=-2, duration=10)

>>> # Just these two objects (as named in the legend)
>>> anim.orbit(["neuron_1", "neuron_2"], duration=6)
By default the camera is re-centered on the target before the orbit starts and rotates about the scene's up direction - a turntable. Two knobs change that:
axistakes"up"(default),"x","y","z","view"(i.e. a roll) or any vector; prefix with-to flip the directionrecenter=Falsekeeps the view exactly as it is and orbits around whatever the camera is already looking at - use this when you have set up a view by hand and just want to spin it
Moving between views#
Animation.move_to takes anything Viewer.set_view takes - a named view such as "XY", or a camera state from Viewer.get_view. That last one is the interesting bit: navigate the scene by hand, grab the view, and use it as a waypoint.
>>> v.set_view("XY")
>>> start = v.get_view()
>>> # ... now move the camera around in the viewer until you like what you see
>>> detail = v.get_view()

>>> anim = oc.Animation(v)
>>> anim.start_at(start).move_to(detail, duration=3).hold(2).move_to(start, duration=3)
>>> anim.render("flythrough.mp4")
The camera swings around the point it is looking at rather than travelling in a straight line (which would fly through the middle of your objects); pass path="linear" if you want the straight line after all. easing controls the acceleration - "in_out" (the default here) eases out of one view and into the next, "linear" is a constant speed. See octarine.anim_utils.EASINGS for the full list.
Previewing#
Animation.play runs the animation in the viewer (via the same animation loop as above) so you can see what you are getting:
>>> anim.play(loop=True)
>>> anim.stop()
Rendering#
Animation.render writes the animation out. The format follows the file extension:
>>> anim.render("orbit.mp4")     # needs imageio + imageio-ffmpeg
>>> anim.render("orbit.gif")     # needs imageio
>>> anim.render("orbit/")        # a numbered PNG per frame - no extra dependencies
>>> frames = anim.render(None)   # a list of numpy arrays
Rendering steps the timeline frame by frame instead of following the wall clock, so the video comes out at exactly fps no matter how long each frame takes to draw. A full turn also stops one frame short of the end, i.e. it loops seamlessly.
The usual screenshot options apply: size (the canvas is temporarily resized), pixel_ratio and supersample for anti-aliasing. Note that supersampling is paid for on every frame, so it defaults to off here:
>>> anim.render("orbit.mp4", size=(1920, 1080), pixel_ratio=1, supersample=2)
Rendering works on an offscreen viewer (oc.Viewer(offscreen=True)) too, which is what you want on a server or in CI.
Note
Writing .mp4 requires imageio and imageio-ffmpeg, .gif just imageio (pip install imageio imageio-ffmpeg). PNG sequences need nothing beyond octarine itself. tqdm, if installed, gives you a progress bar.
The Animation tab#
Everything above is also available from the control panel (press c, then go to the "Animation" tab):
- Orbit mode is the same as
Animation.orbit(): pick what to orbit around (everything, or the objects selected in the legend), the axis, the number of turns and the duration. - Keyframes mode is the interactive version of
move_to(): move the camera in the viewer, hit "Add" to capture the view, repeat. Each keyframe carries the duration and easing of the move into it, "Return to first keyframe" closes the loop.
"Preview" plays the animation in the viewer, "Record" writes it to the chosen file. Recording renders one frame per event-loop tick, so the window stays responsive and you can cancel a long render at any time.
What next?#
-
Objects
Check out the guide on different object types.
-
Control
Learn how to control the viewer, adjust colors, etc.